A beautifully frosted layer cake is the perfect dessert for any occasion, but in a small household, most of it will go stale and dry out before it can be enjoyed. To make a small 6-inch, 2 layer round cake suited for two, we need to scale back our recipe to fill two 6-inch cake pans.

This isn’t difficult, but sometimes problems can occur. With this quick and easy tutorial, I’ll show you how to build the perfect small 6-inch, 2-layer round cake, from preparing the pans and leveling your cakes, to frosting the layers. Plus, more helpful tips to avoid some common pitfalls.
Jump to:
- Pam's Best Tips
- How to make a perfect small 6-inch, 2-layer cake
- Prep the pans
- Portion the batter carefully
- Slice off domed tops
- Frosting tips
- Cutting perfect slices
- All-purpose flour vs cake flour
- Importance of egg and milk temperature
- Butter temperature when baking
- Checking a cake for doneness
- Storage
- Equipment
- Related How To Articles
Pam's Best Tips
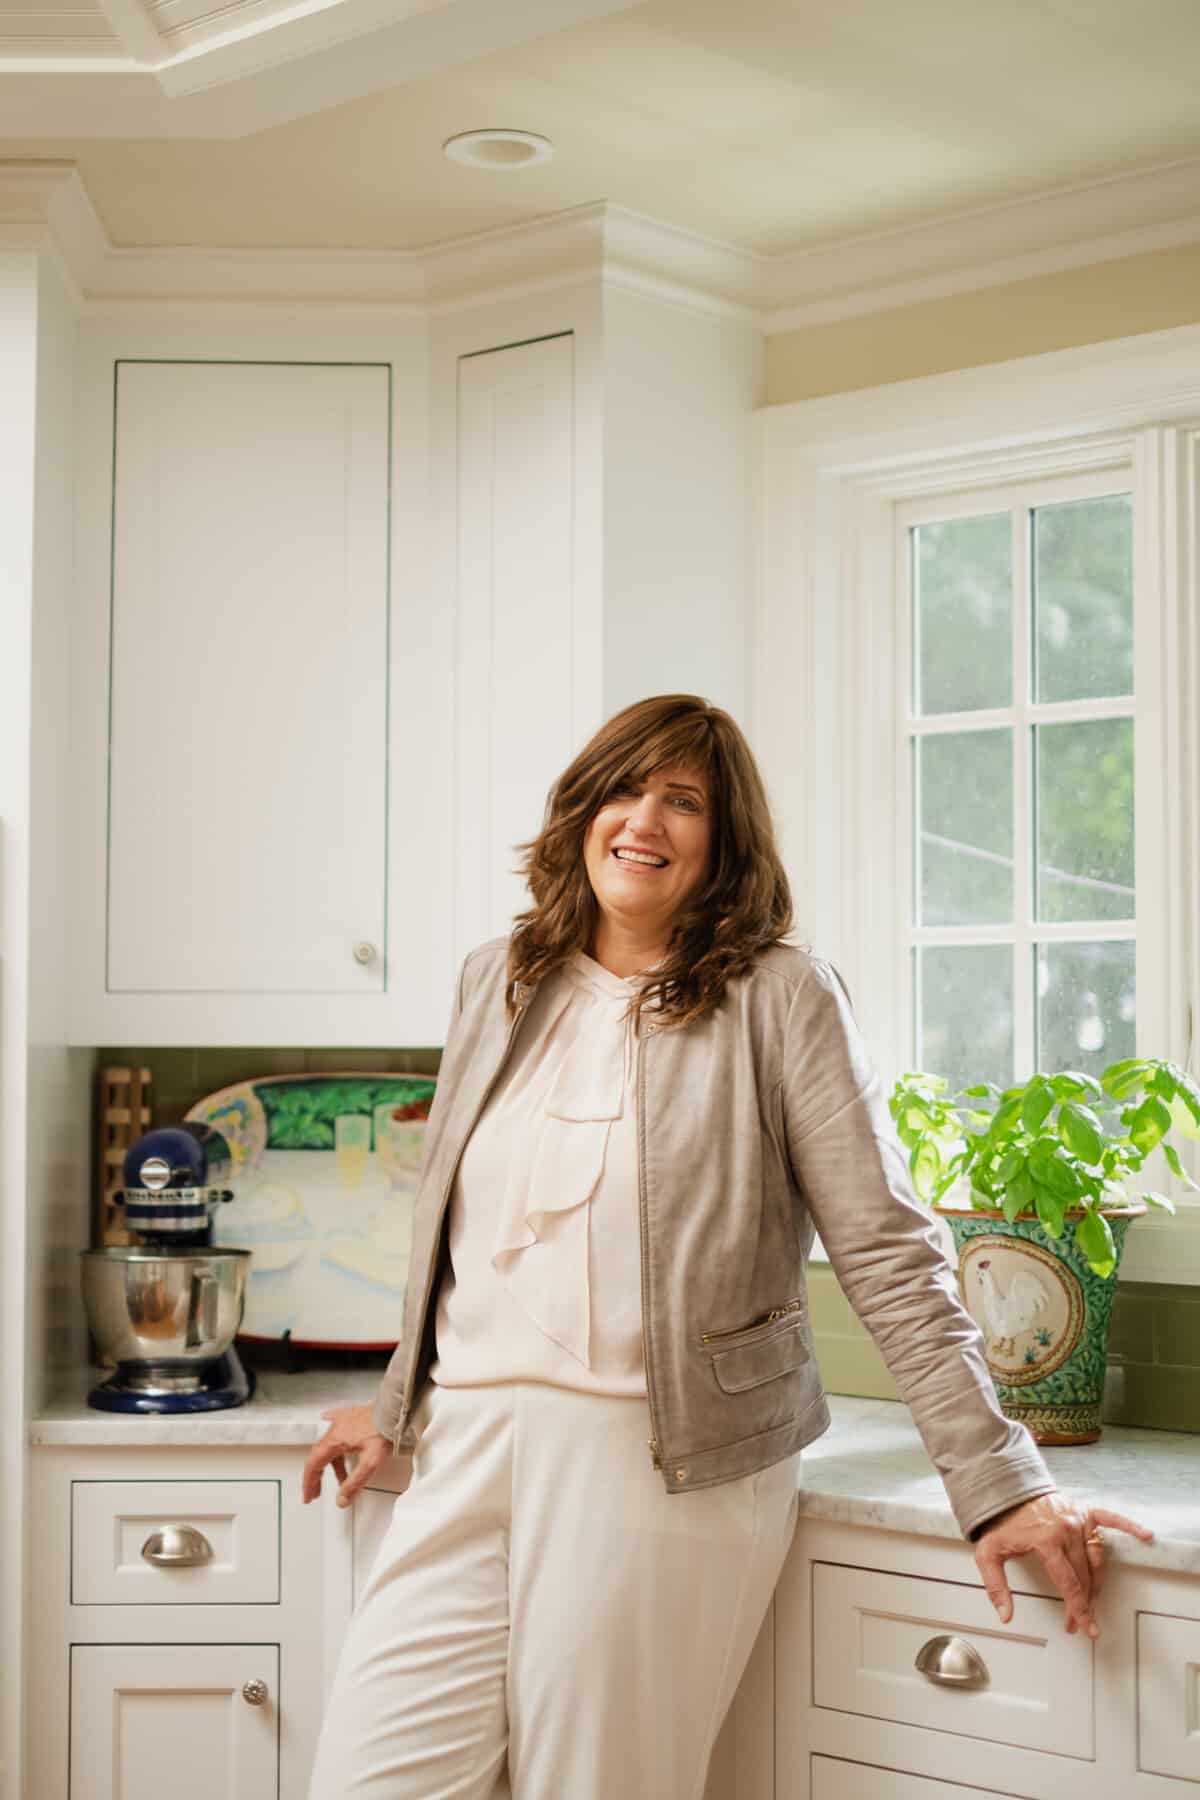
I am a Great British Baking Show (GBBS) addict. After watching 10 + seasons, I have picked up a trick or two - okay maybe three.
Whether you’re a beginner baker, or simply looking to brush up on your layering skills, I’m excited to share important tips and tricks such as the importance of ingredient temperature when baking, how to tell when a cake is done (yes, you can listen to your cake as Peter does on season 8 of the GBBS), to tips on the amount and type of flour to use.
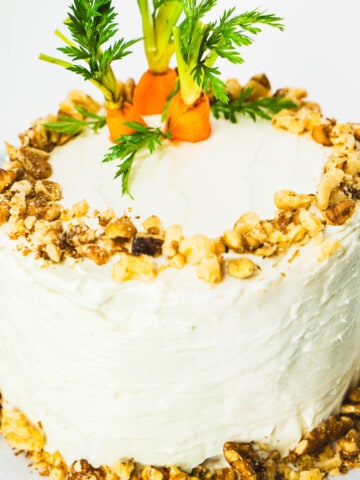
When you are ready to try out your layering skills, make my absolute favorite small 6-inch, 2 layer carrot cake – it’s a keeper!
Without further ado, let the small 6 inch, 2-layer round cake 101 commence!
How to make a perfect small 6-inch, 2-layer cake
Layer cakes aren’t difficult to make, but problems can occur. Here are a few tips I have learned on my cake baking journey.

Tip 1: Prep your pans for a dependable cake release every time

Tip 2: Portion the batter carefully for level cake layers and easier stacking.
- Tip 3: Slice off domed tops for level layers
- Tip 4: Before frosting, brush the cake with a pastry brush
- Tip 5: For perfectly cut slices, run the knife under hot water
Prep the pans
To ensure your cake releases from your 6-inch cake pan every time, first grease the inside of the pan evenly with a thin coat of butter or vegetable shortening. I like to use my butter papers (the paper that your butter is wrapped in to keep it fresh) to grease my pans.
Next, fit the pans with a piece of parchment paper.
The paper prevents the formation of tough crust and helps the cake hold together when it is removed from the pan. Trace the bottom of the pan onto the parchment for a perfect fit. Then cut on the inside of the line so that the round fits snugly inside the pan.
Fit the parchment into the pan, then grease the paper. Finally, sprinkle flour (or cocoa powder for chocolate cakes)in the pan, shake and rotate to coat evenly with the flour. Shake out remaining flour.
Portion the batter carefully
Portioning the batter is super important so that your cake layers are level and stack easily. Weighing the filled pans is the most accurate way to ensure equal portions. No scale? Grab your ruler and measure the space between the top of the batter and the top of the pan, then re-portion the batter, if needed. -content link)
Slice off domed tops
Cake layers with a domed top are difficult to stack and to frost. The easiest way to prevent layers is to make sure your oven is running at the right temperature by using an oven thermometer. If it’s too hot, the heat can cause your cakes to crack and dome.
Frosting tips
We don’t want crumbs getting embedded in the frosting, so first brush the layers gently with a pastry brush to remove those unwanted crumbs before frosting the cake.
Also, be sure to cool the cake completely before frosting it – a warm cake is more delicate, likely to tear and soften or melt your frosting which could even run off the cake. I find that a small offset spatula makes it easier to neatly frost the cake.
For a step-by-step frosting guide with photos read my how to frost a layer cake article.

Cutting perfect slices
For neat slices of cake, it is helpful to clean the knife with hot water before slicing each piece – you can do this at the sink or bring a pitcher of hot water to the table where you are cutting the cake. Dip the knife in the hot water and wipe the knife dry before slicing.
This prevents the frosting from sticking to the knife and making a mess as you cut each subsequent piece of cake.

All-purpose flour vs cake flour
Flour is essential for providing structure to our cakes. The amount and type of flour can be the difference between a tough cake and a light, tender one.
The main difference between types of flour is their protein content. All-purpose is by far the most versatile flour available, hence the name. With a protein content around 10 percent, it provides enough structure to make a good sandwich bread, yet light enough to use in cakes where we want a medium to coarse crumb (like a chocolate or carrot layer cake). But cake flour with a lower protein content – about 6 percent – makes a fluffy yellow cake with more delicate crumb.
Another tip I picked up from America’s Test Kitchen is when using all-purpose flour look for unbleached flour because bleached all-purpose flours often have an off-putting flavor.
Importance of egg and milk temperature
Temperature plays an important role in the behavior of ingredients. Room-temperature eggs and milk are more easily incorporated than cold, thus avoiding unnecessary additional mixing necessary that may adversely affect the texture (read tough cake).
Because recipes for two call for only small amounts of liquid ingredients like milk you can simply set them on the counter while you prep the rest of the recipe. Eggs, however, take about an hour to come to room temperature on their own.
To warm them quickly, put whole eggs in a small bowl of warm water (no hotter than 110 degrees) for about 5 minutes.
Butter temperature when baking
The temperature of butter makes a difference in many recipes and can dramatically affect the texture of cakes. For cakes, softened butter is critical for creaming, allowing it to easily blend with the sugar. The softer the butter the easier it is to incorporate air into the batter, creating a tender cake.
To soften butter quickly you can place cold butter in a plastic bag and use a rolling pin to pound it to the desired consistency, or you can cut the butter into small pieces and let it sit until softened.
Softening butter in in the microwave: If you’re going to soften butter in the microwave, here’s how to keep it from melting. Microwave one 4 tablespoon piece of butter for 1 minute at 10 percent power. Press on the butter with a finger to see if it is sufficiently softened. If not, heat for another 2- seconds again at 10 percent power.
Checking a cake for doneness
While, Peter a Great British Baking Show Champion Baker, listens to his cakes to determine if they are done. Put your ear to it and you can hear it sizzle and crackle as it is baking. This is the steam from the liquid ingredients cooking out. The sound becomes softer and slower as more steam is released, and the cake is closer to being done. There will be just the faintest sound when it's done.
But, I check my cakes for doneness by inserting a toothpick into the center.

If it comes out with just a few moist crumbs attached, it is done. If you see raw batter, continue to bake the cake, but check it every few minutes.
Storage
A 6-inch, 2-layer cake serves 3 to 4 generous portions. So what is the best way to store a frosted cake? Frosting acts as a protective barrier for the cake, so there's no need for plastic wrap here. But cover it with a cake keeper or an overturned bowl to protect the cake from dust and anything else that would settle on the frosting. A frosted cake can be kept at room temperature for four to five days.
Equipment
To make a petite layer cake suited for two, we need to scale back our recipes to fill two 6-inch cake pans. In addition, I recommend using a small offset spatula to easily and neatly frost the cake.
Please let me know if you have any questions about this how to bake a layered cake guide in the comments below.
Looking for more kitchen tools that every small household kitchen should own? Take a look at my favorites:
- 7 Essential cooking for two kitchen tools
- More Cooking For Two Kitchen Tools
- Best small baking dishes
- Best pans and skillets when cooking for two
Related How To Articles
Looking for more tips on baking and frosting small 6-inch 2-layered round cake? Check out these recipes and how-to tutorials:


Leave a Reply