This no-churn Raspberry ice cream has the same creamy texture as the old-fashioned churned ice cream. The difference is no ice cream machine is necessary. Incorporating a raspberry puree made from fresh or frozen raspberries takes this no-churn ice cream to the next level – perfect for making throughout the year. Absolutely delicious!
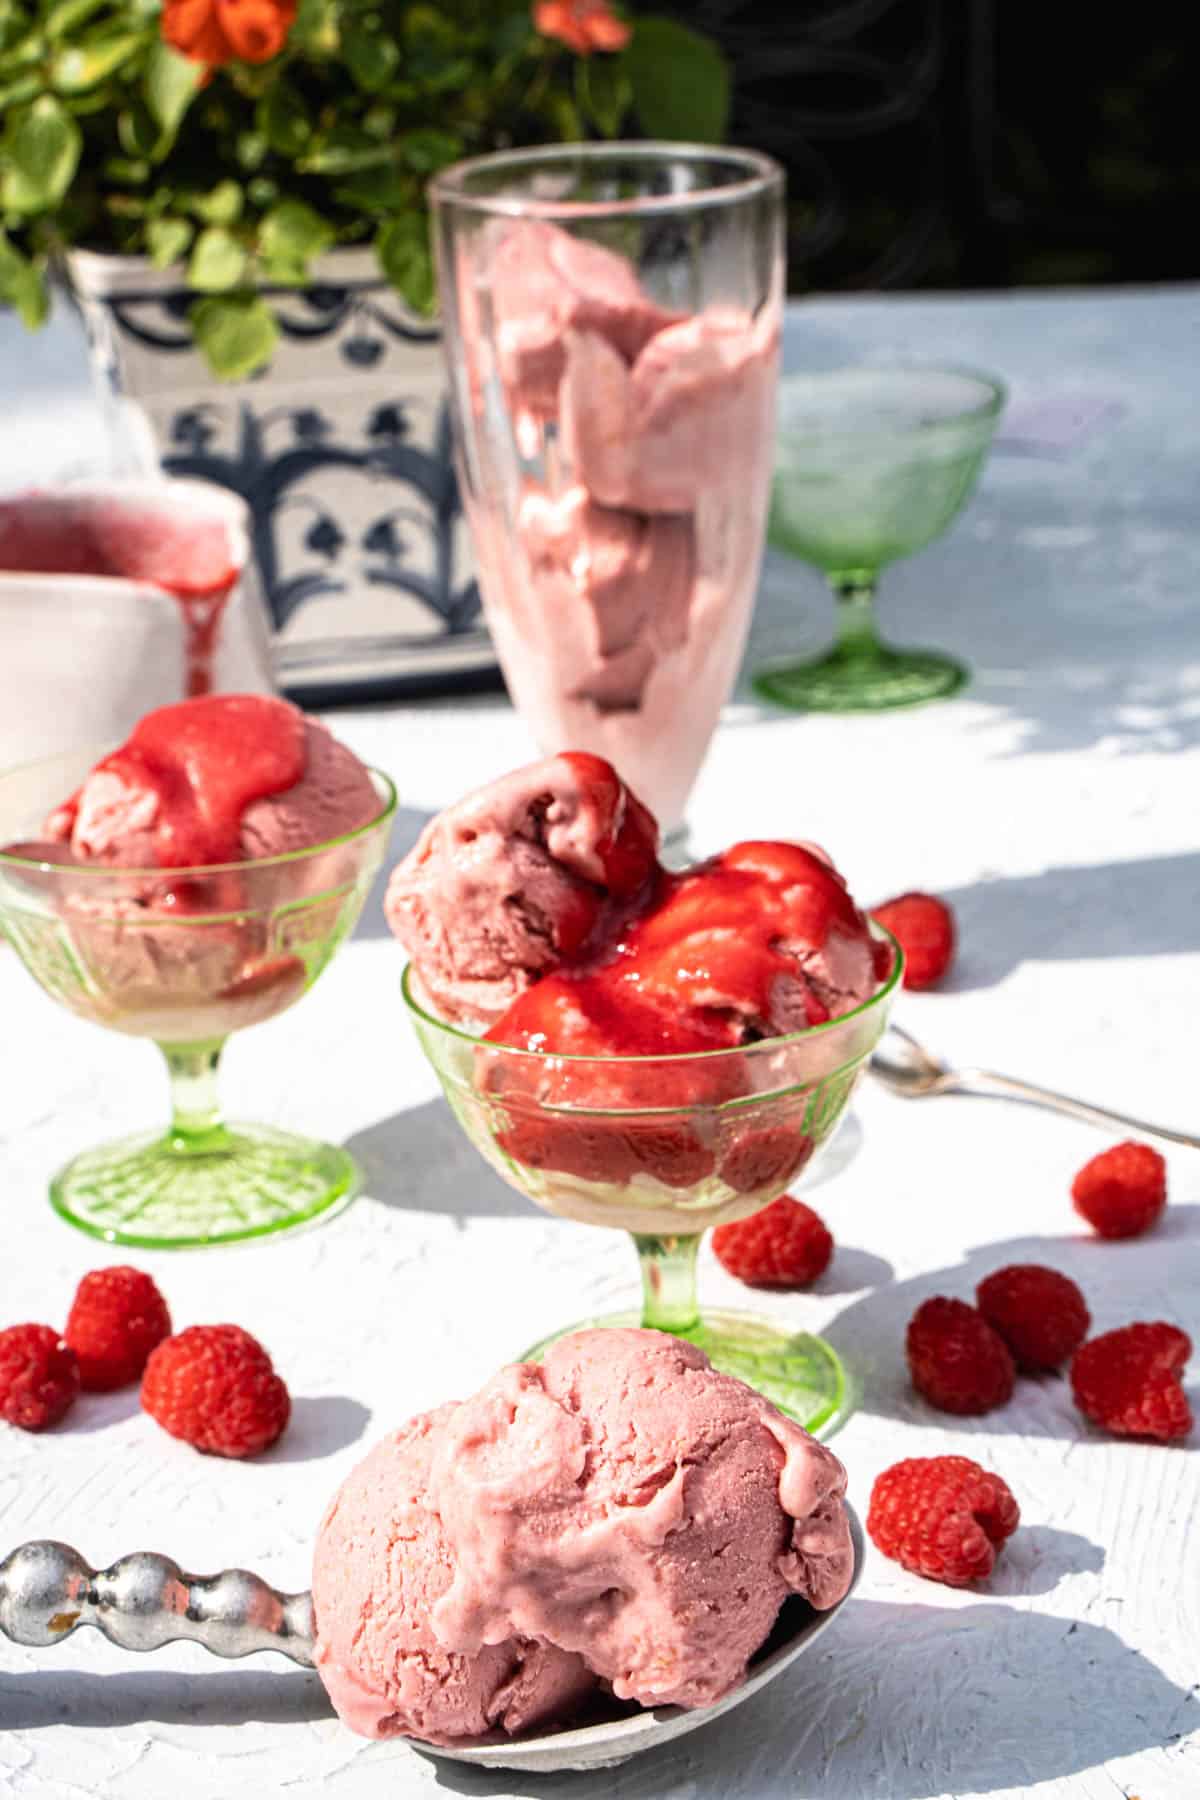
After making Yotam Ottolenghi’s no-churn raspberry ice cream, I may never use my ice cream maker again – It’s that good!
This no-churn ice cream has the same superior texture as old-fashioned churned frozen custard, ice cream or gelato. The difference is in how we incorporate air. Instead, of chilling a spinning custard base using an ice cream machine, we will turn to a stand mixer, getting the air bubbles whipped into it before freezing.
Making this when raspberries are in season is great, but frozen also works really well. The liquid released by the frozen gives the purée a lovely smooth consistency. You’ll want to make this frozen treat throughout the year.
Once you get the hang of this no churn ice cream making technique, you can really get creative. Consider making a strawberry instead of raspberry puree or skip the puree and add grated vanilla bean along with vanilla extract for an old-fashioned vanilla frozen custard. Adding crushed oreos, toasted nuts or chocolate sauce at the finish is part of the fun.
Whipping the ingredients together takes just a few minutes, the wait comes because it needs least 12 hours of freeze time – so let’s get started!
While the ice cream freezes, consider baking up mini chocolate bundt cakes. Chocolate cake and a scoop of raspberry ice cream makes for a whole lot of happiness in one bowl!
Jump to:

What you’ll need
Let’s quickly chat about some of the key ingredients and tools you will need.
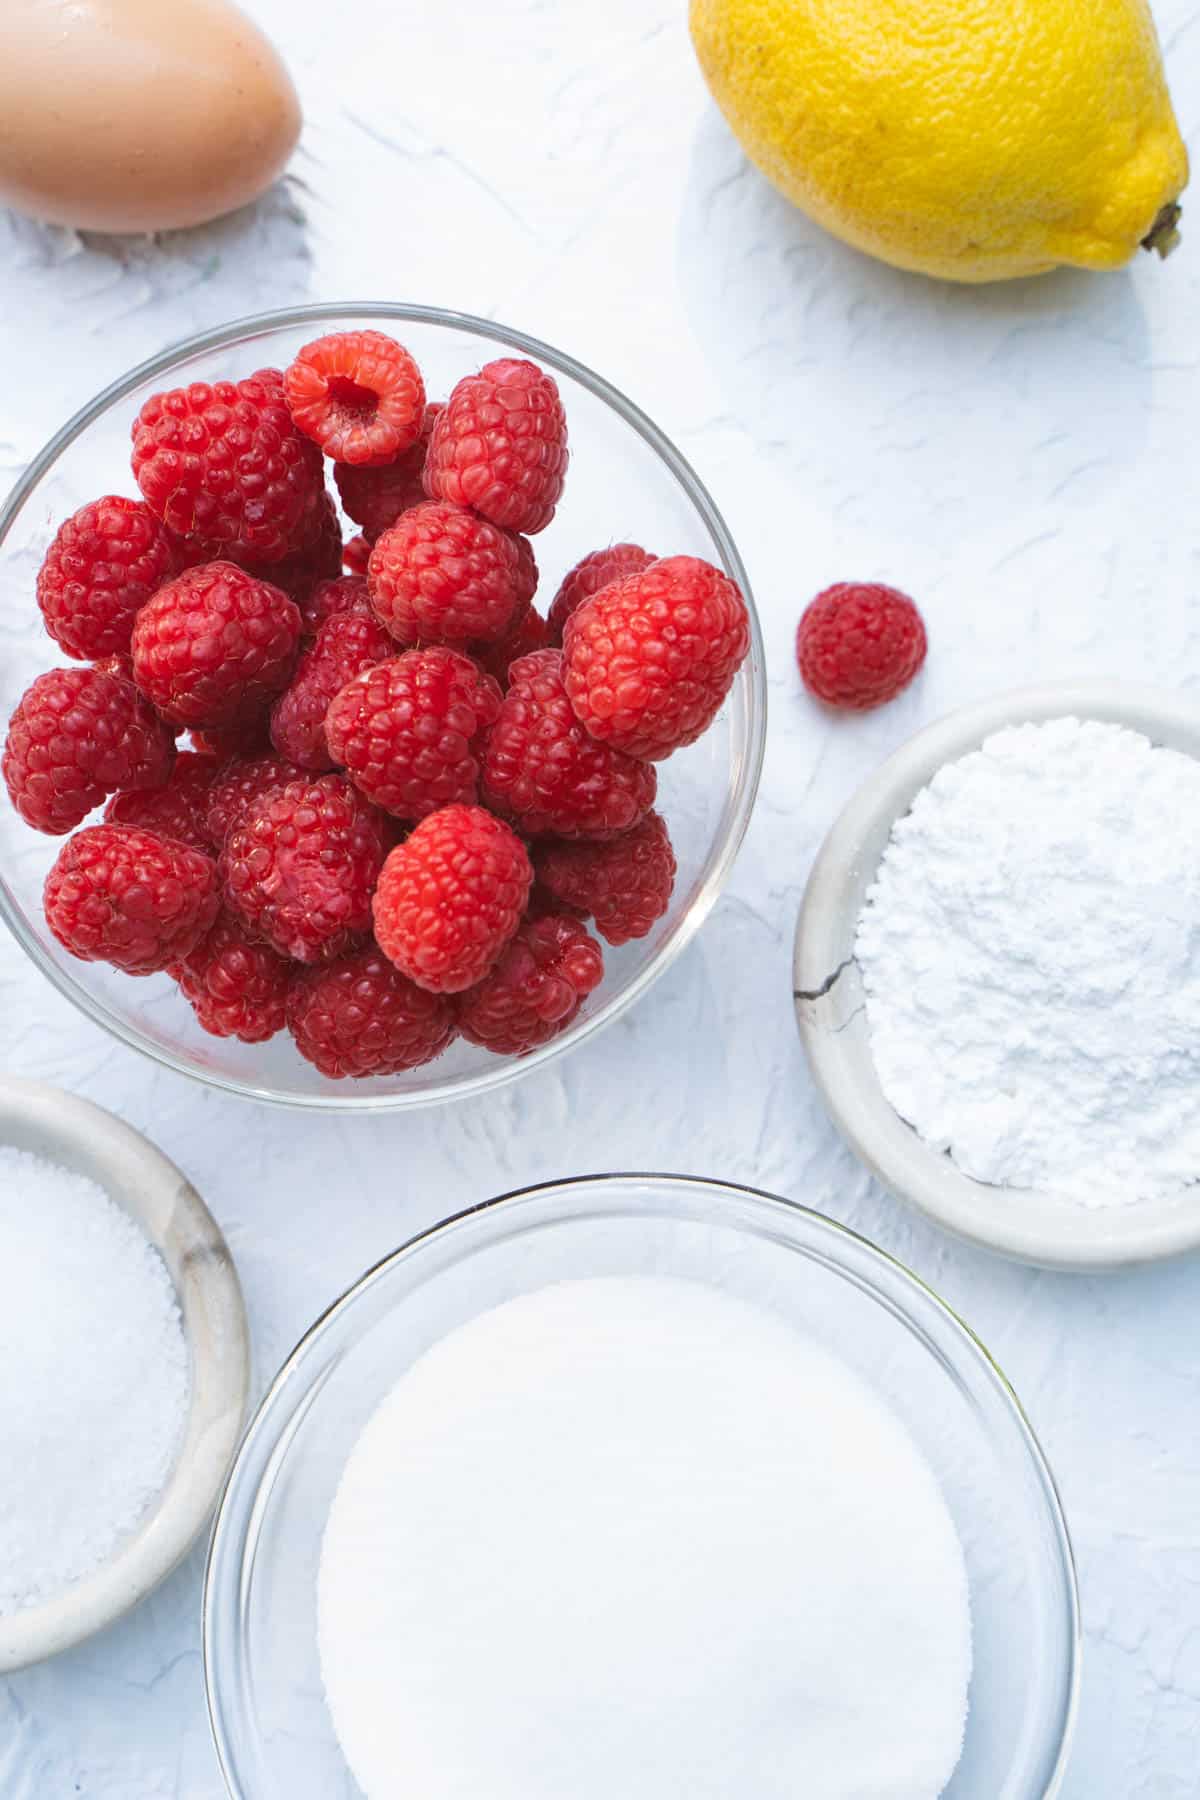
- fresh or frozen Raspberries – fresh raspberries are great when they are in season, but frozen work great, giving the ice cream a smooth consistency.
- powdered sugar – we will add just a couple of teaspoons to sweeten the raspberry puree we reserve for ladling on top.
- heavy whipping cream and eggs – a dairy and egg base achieve a creamy old-fashioned custardy texture.
- Lemon juice – we only need a teaspoon, but squeezing in fresh lemon juice adds a bright citrus note complimenting the raspberry flavor.
- Granulated sugar – most no churn recipes call for sweetened condensed milk, which I think is too sweet. We will stick with granulated sugar to lightly sweeten the raspberries and the ice cream base.
- salt
Note: See recipe card below for quantities.
Equipment
No ice cream maker needed for this recipe! Instead we will incorporate the air bubbles using a stand mixer.
- Stand Mixer – I use this Kitchen Aide model with a wire whisk attachment to aerate (get the air bubbles into) the ice cream.
- Medium saucepan – we are going to simulate a “double broiler”, using steam to warm the eggs and dissolve the sugar. The base of your stand mixing bowl will need to fit into a saucepan with about ¾” of water - without the bottom of the mixer bowl touching the water. I use a 3-quart all clad saucepan for this recipe.
- Whisk – I like using this oxo good grips 11-inch ballon whisk to mix together the eggs, lemon and sugar while warming over a steam bath.
How to make this recipe
All right got your ingredients and tools ready? Let's get started!
Making a raspberry puree
Puree the raspberries using a food processor or hand blender. If using a hand blender with a beaker you will need to work in batches.
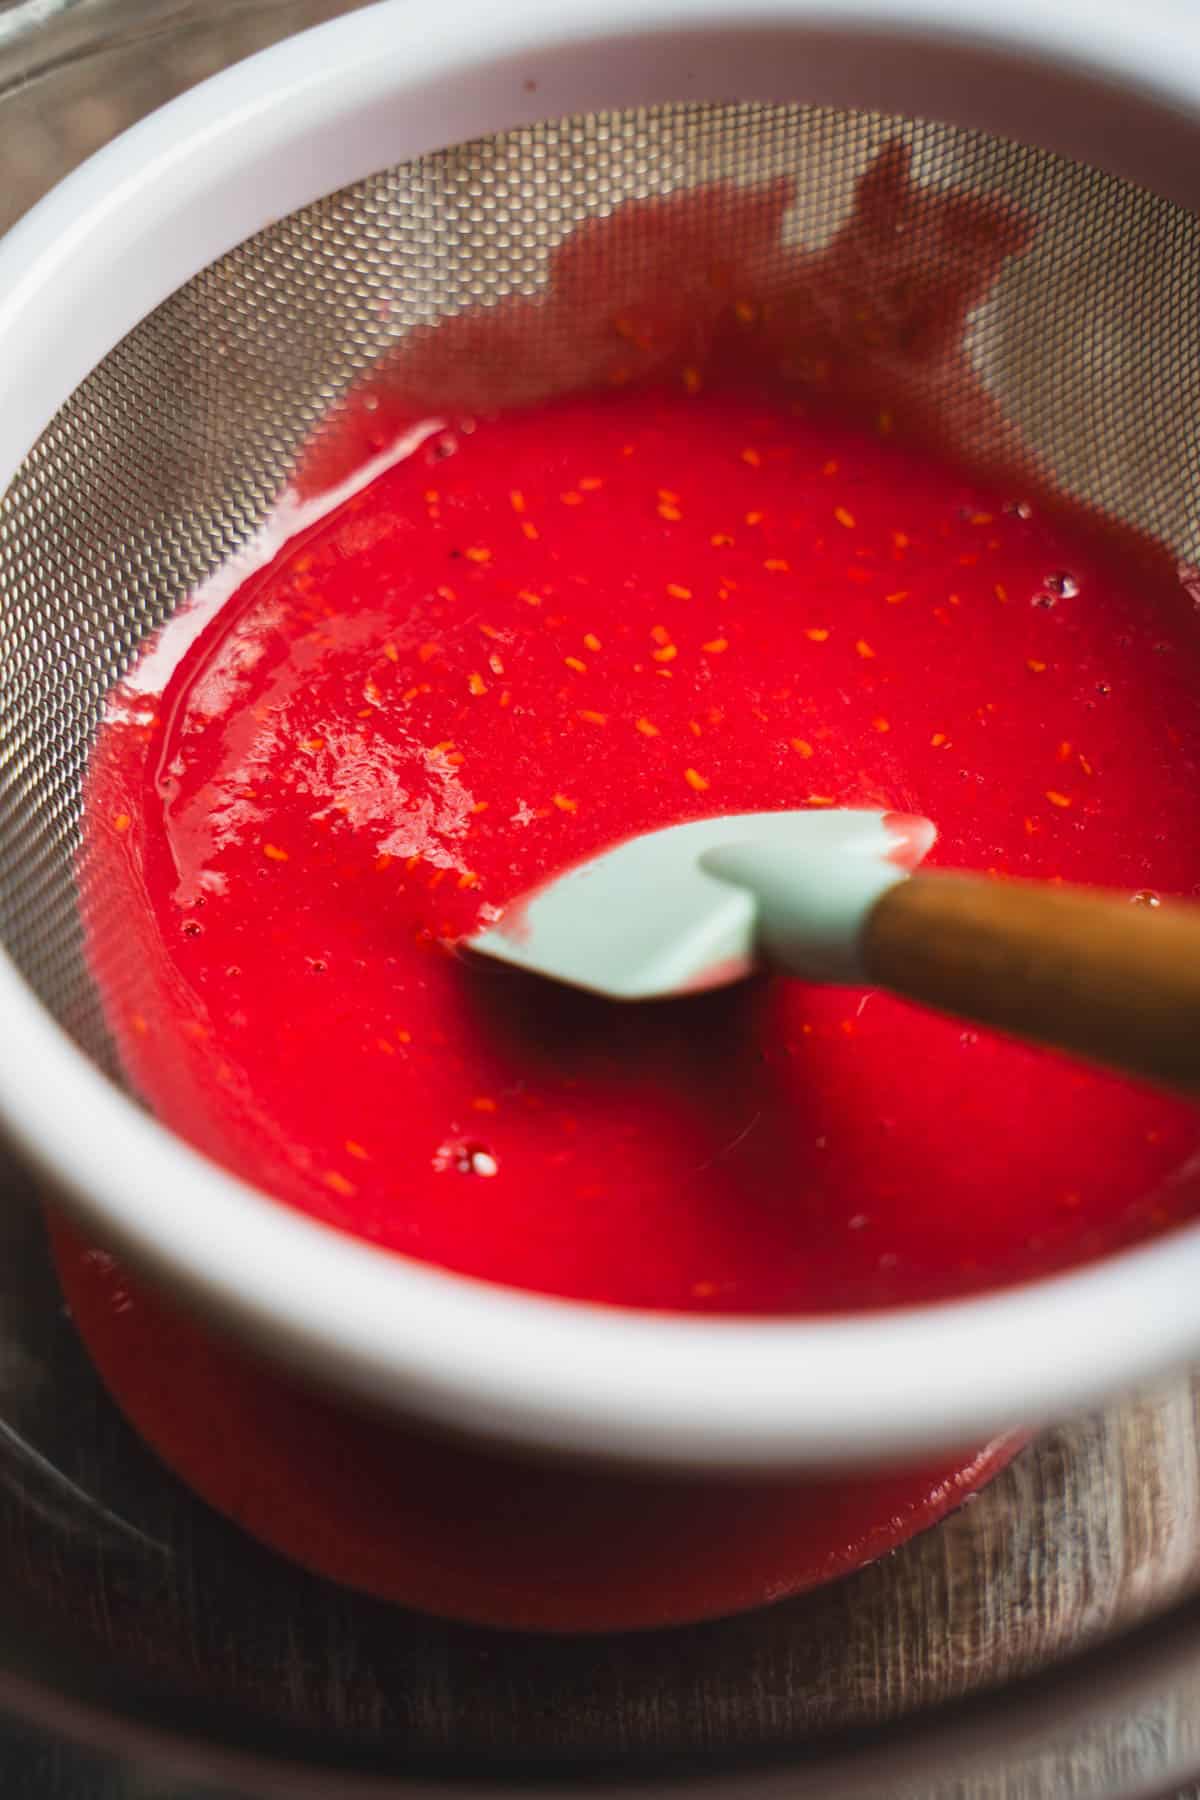
Strain the puree. Place a fine mesh sieve over a medium sized bowl. Using a spatula or wooden spoon press the puree through the sieve leaving the seeds behind! This will take some time, but your patience will be rewarded with an ice cream that is full of raspberry flavor with a smooth consistency.
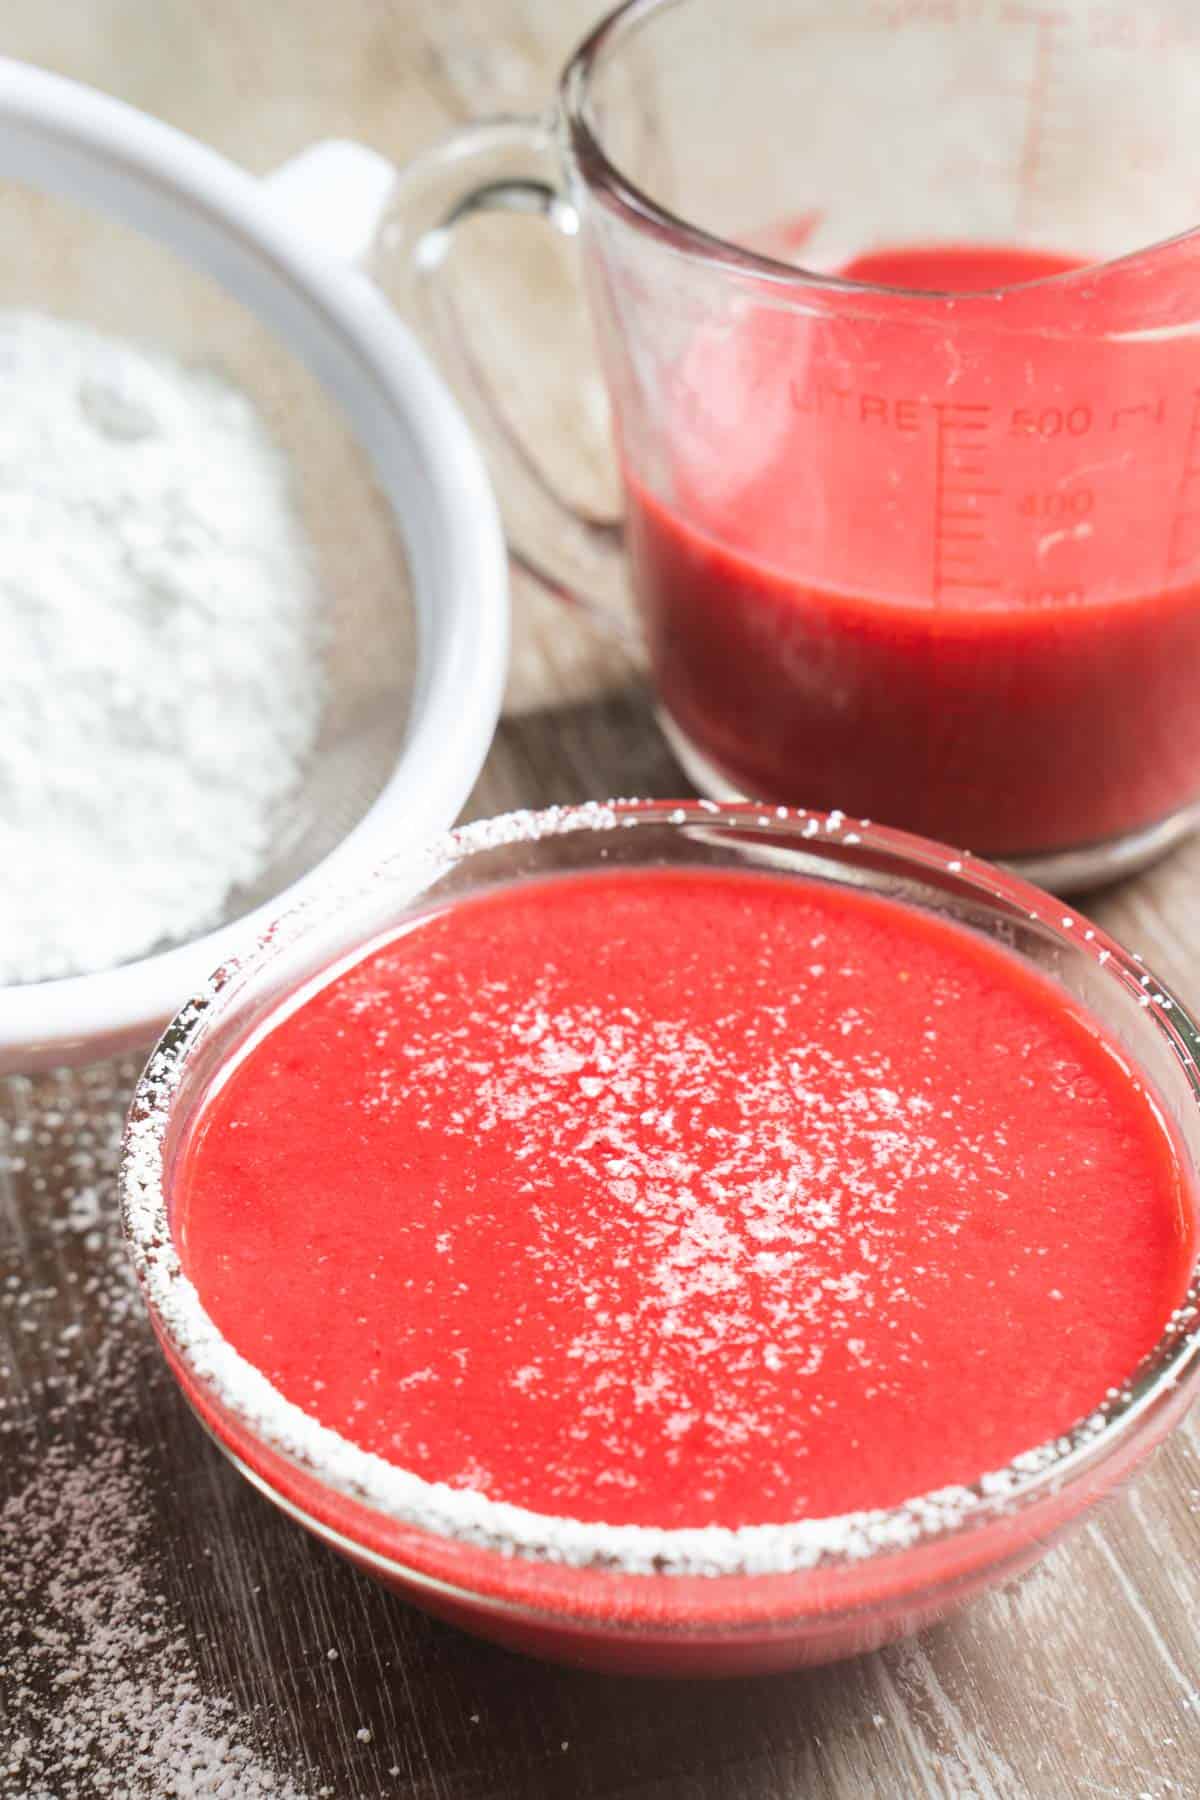
In a separate bowl set aside 1 cup plus 2 teaspoons of raspberry puree. We add this to the ice cream base right before freezing.
Lightly sweeten the remaining puree. Now, Add 2 tablespoons powdered sugar to the remaining puree.
If you have more than ½ a cup of puree left, add a bit more powdered sugar. I like to add 2 tablespoons per ½ a cup of puree. We will drizzle this sweetened puree over the top of the frozen ice cream taking this desert to the next level! Cover and store in the refrigerator until ready to use.
No-churn ice cream base
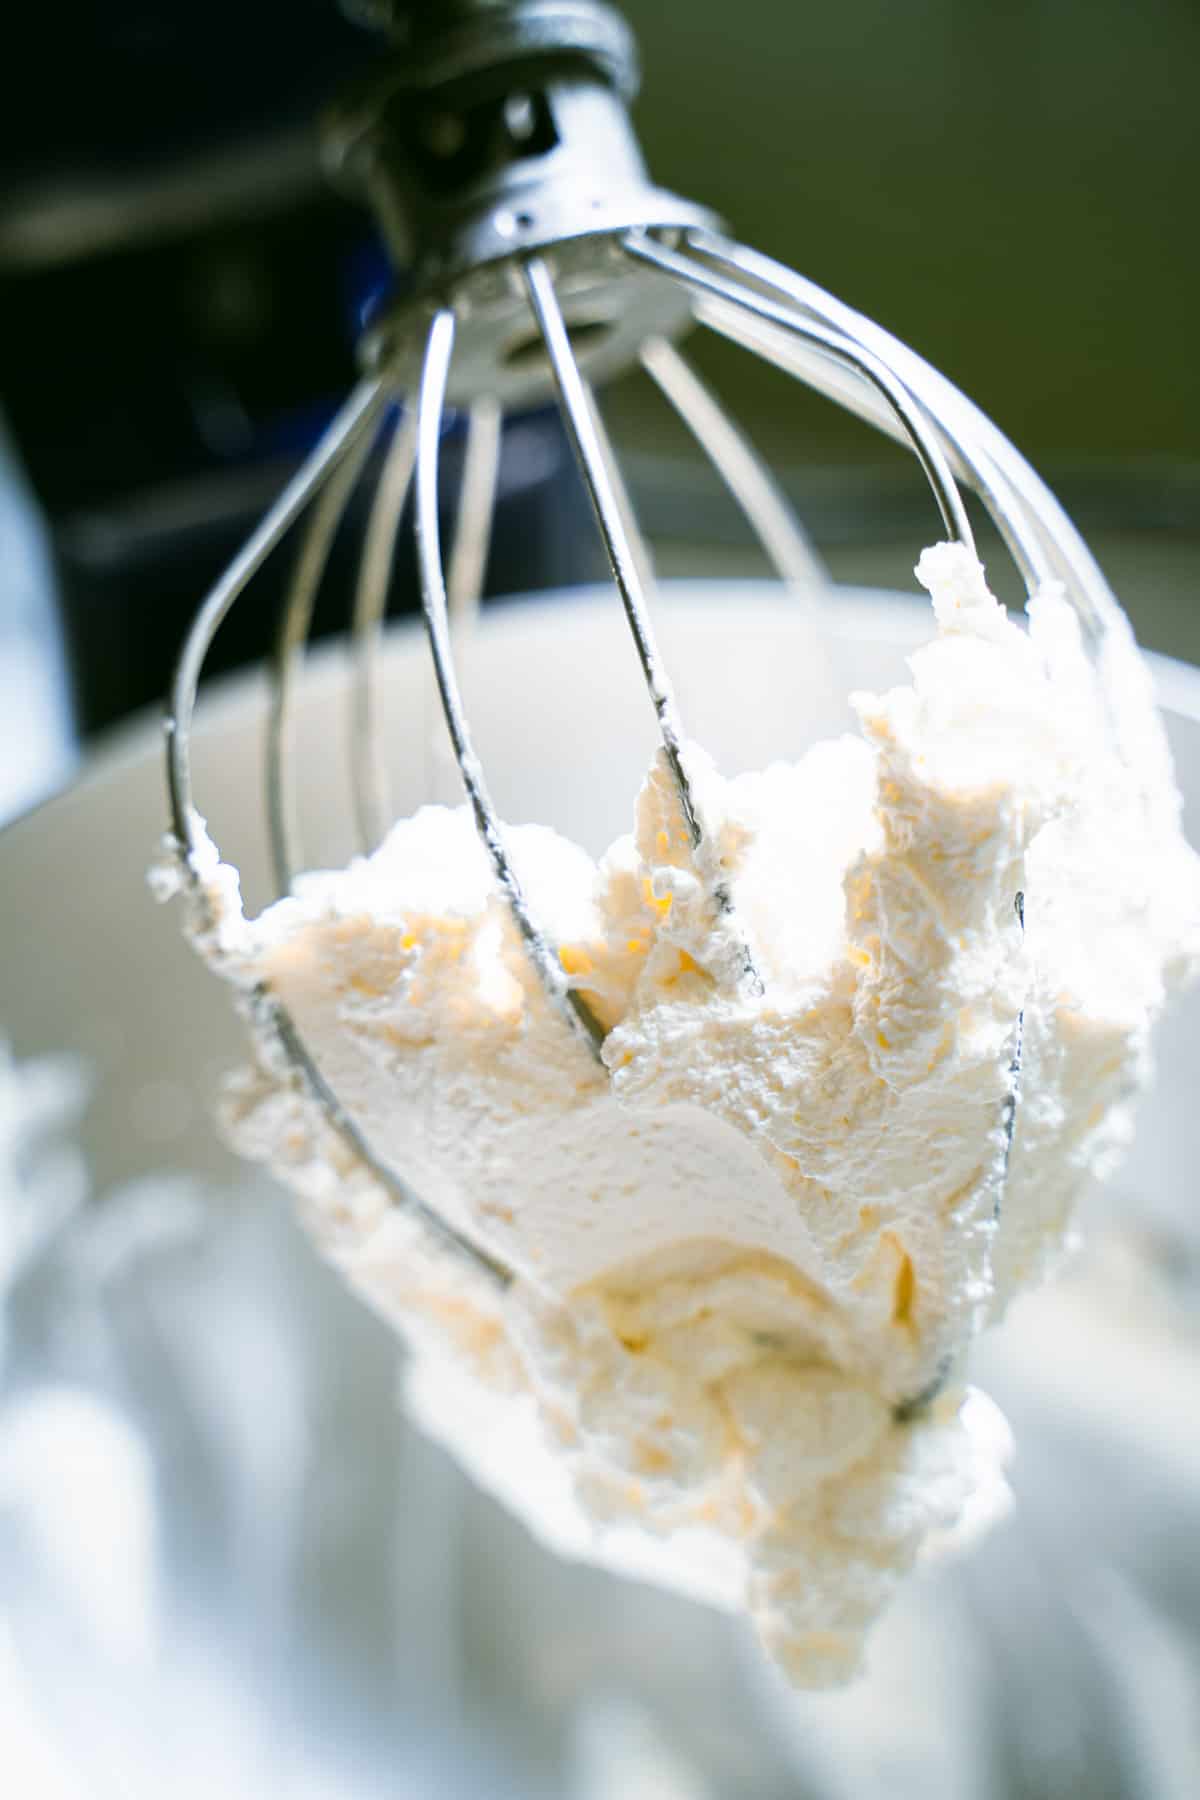
Whip the cream. Add cream to the bowl of your stand mixer and whip until the cream forms soft peaks
Store this in an airtight container and refrigerate until ready to incorporate into the ice cream base.

Warm the eggs and dissolve the sugar. We are going to use a double boiler steam method to warm the eggs.
Fill a medium saucepan with about ¾ inch (2 cm) of water and bring to a boil. The saucepan needs to allow the bowl of the stand mixer to fit snugly without the bottom of the bowl touching the water. In the bowl of the stand mixer, whisk together the egg, egg yolks, lemon juice, granulated sugar, and salt.
Place bowl over the simmering water and whisk continuously until the sugar has dissolved and mixture is warm. This will only take about 5 minutes. To avoid having cooked eggs in your ice cream base, you will want to keep whisking - continuously and vigorously!
Now, move your bowl to the stand mixer. Using the whisk attachment begin whisking on medium speed. Do this until the mixture is cool to the touch, about 8 – 10 minutes. This is how we will incorporate air into the base, achieving the texture of old-fashioned churned ice cream.
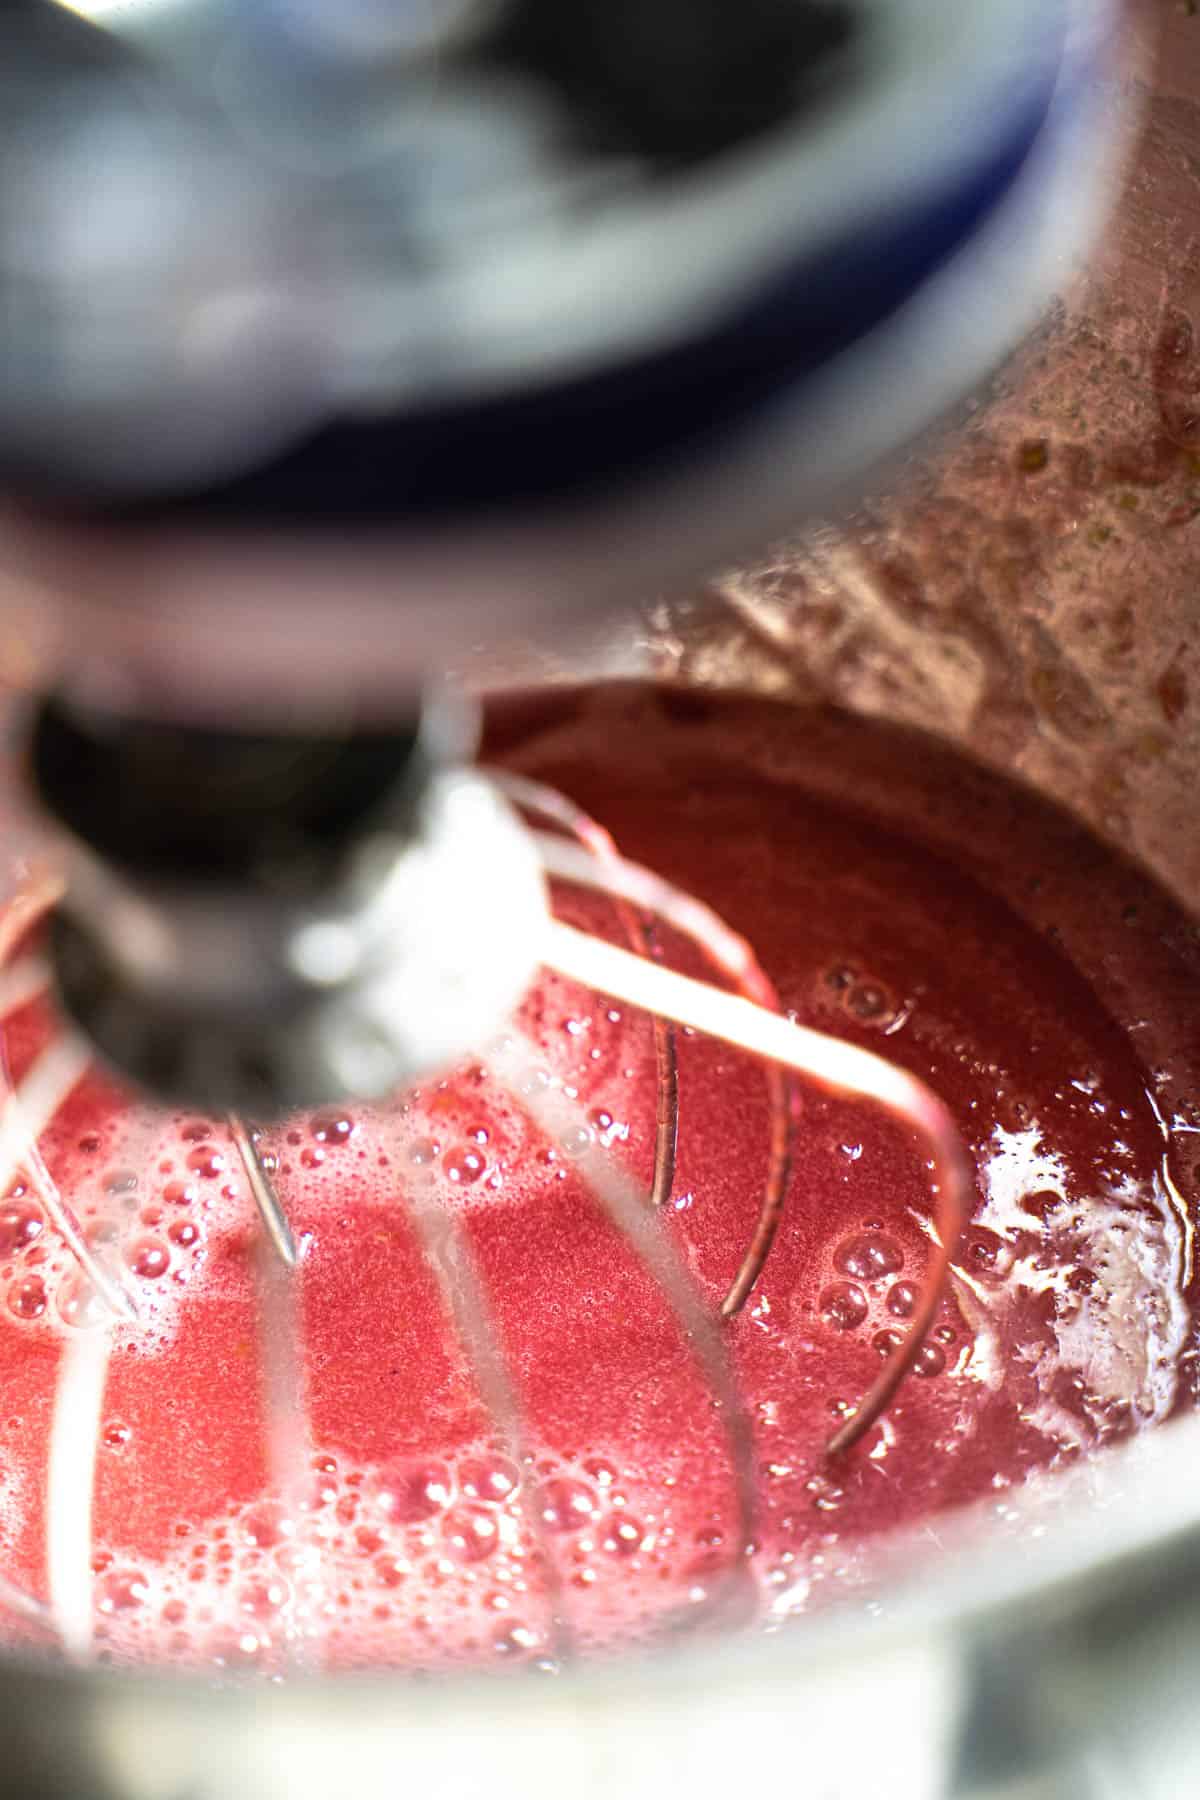
Add the 1 cup plus 2 tablespoons of reserved raspberry puree (the unsweetened puree) and whisk into the egg mixture on low speed until combined.

Fold in the whipped cream until well blended, and then place into a large freezer container with an airtight top. You can place some plastic wrap over the ice cream before placing the container top. This keeps ice crystals from forming.
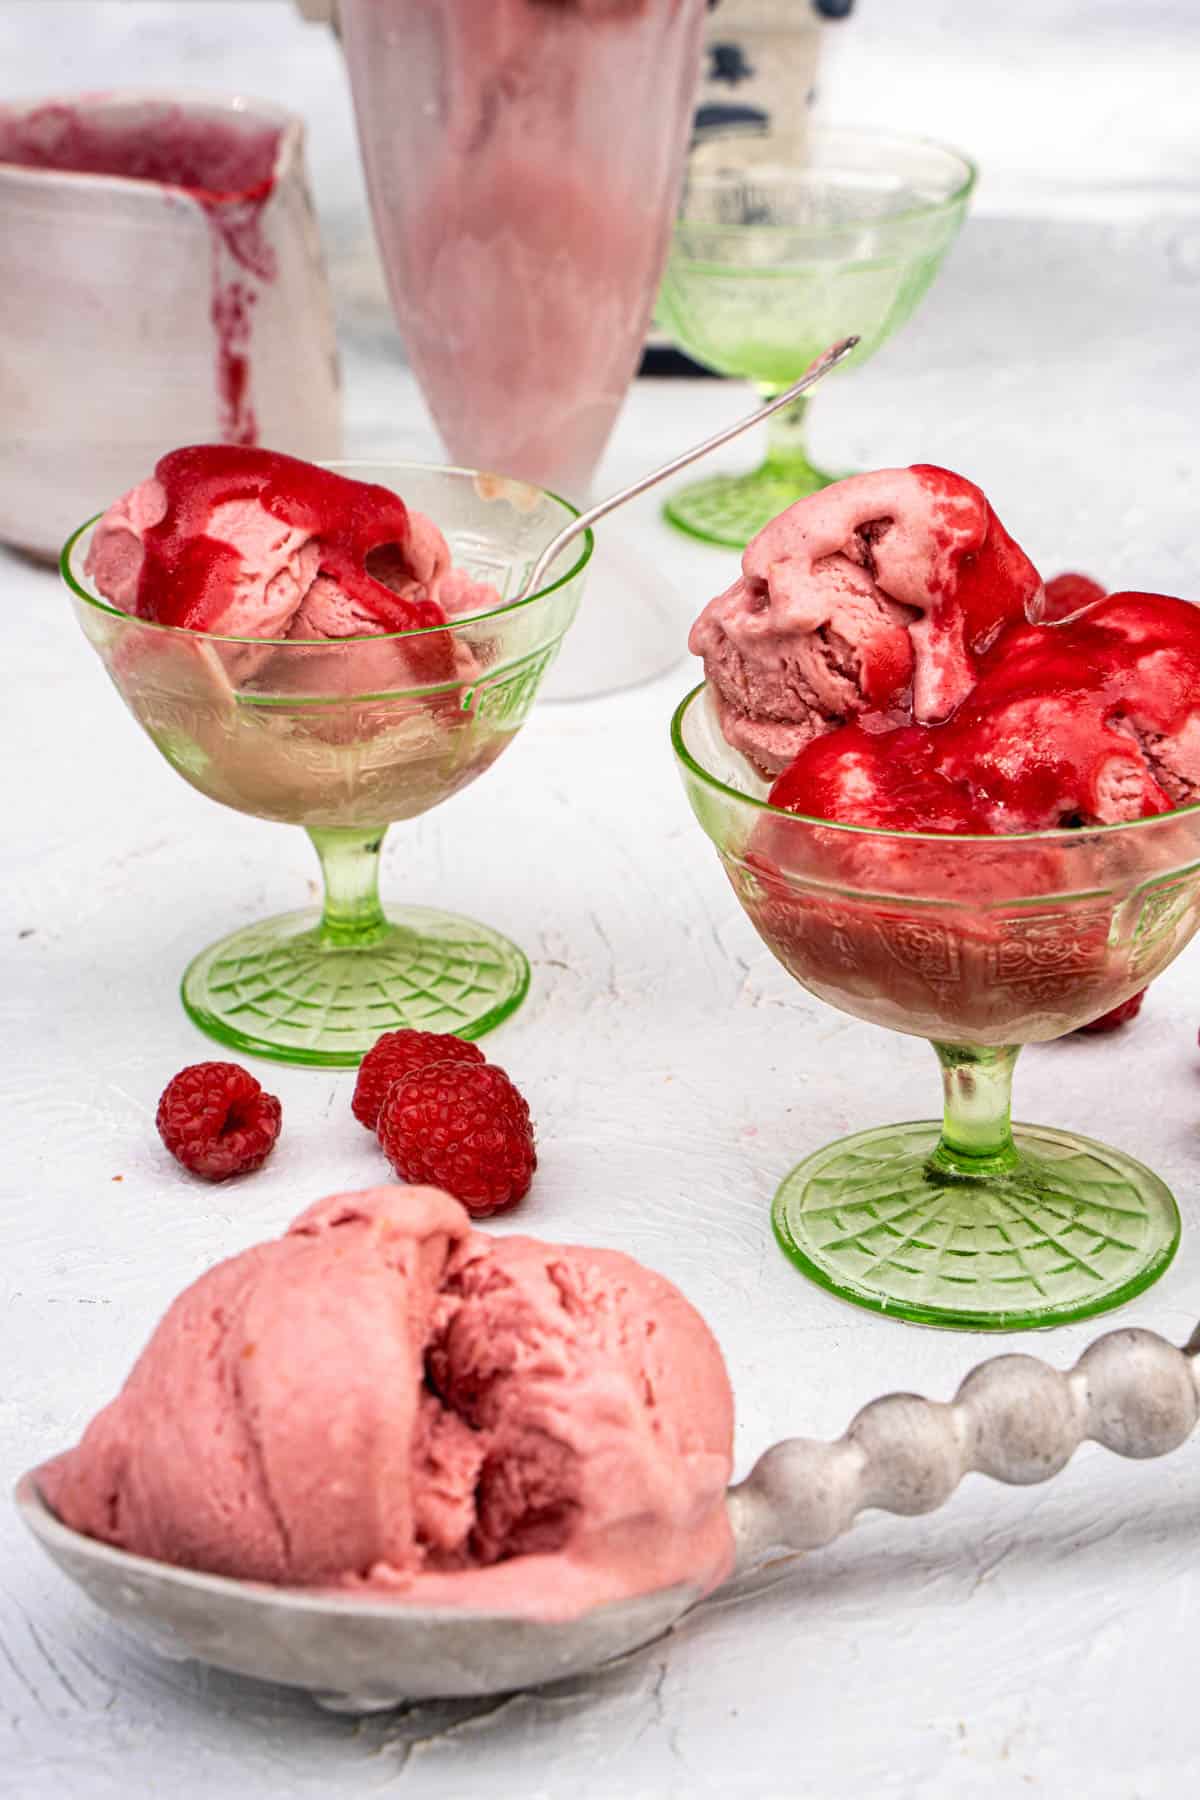
Freeze for 12 hours. Serve with sweetened puree poured over the top – Enjoy!
What does no churn ice cream mean?
What does no-churn mean? It means no ice cream maker required — all you need is 10 minutes and a stand mixer.
Yes, you will need to plan for 12 hours of freeze time, but this no-churn recipe has the same superior texture as old-fashioned churned frozen custard, ice cream or gelato.
The difference is in how we incorporate air. Instead, of chilling a spinning custard base using an ice cream machine, we will turn to a stand mixer, getting the air bubbles whipped into it before placing in the freezer to freeze.
Variations
Once you get the hang of using this no-churn technique, the variations are endless.
- Switch up the fruit flavor and make a blueberry or strawberry puree
- Skip the fruit puree and add grated vanilla bean and vanilla extract to the base for a good old-fashioned vanilla custard.
- Add chocolate, nuts or cookie crumbles as finishers.
Most of all have fun and email me photos or post on Instagram tag #ourtable4_2 your creations!
Love this recipe? Please leave a star rating and review in the comments below! And don't forget to subscribe to Our Table 4 2 for even more cooking for two recipes and tips.
Tips to make this recipe
Want to know the secret to making no churn ice cream? Here are some of my best tips that I’ve learned making this recipe again and again.
- Use Fresh or Frozen Raspberries – fresh are great when they are in season, use frozen during the off season. The juice from frozen raspberries creates a smooth consistency that is just lovely.
- Vigorously and consistently whisk the eggs when warming and dissolving the sugar. Using steam to warm the eggs and dissolve the sugar, we want to avoid cooking the eggs – or clumps of cooked eggs in the custard base. Therefore, it is really important to consistently whisk the eggs.
- Get started the day before. The ice cream will need to freeze at least 12 hours before you serve.
Related
Looking for other dessert recipes for two? Try these:
Pairing
These are my favorite dishes I serve as a main course with the raspberry ice cream as the final act:
Raspberry Ice Cream + How to make no-churn ice cream
Save This Recipe To Your Recipe Box
You can access your saved recipes on this device and generate a shopping list for recipes in your collections.
Ingredients
- 4 cups fresh Raspberries about 4 – ounce containers, or defrosted frozen raspberries
- 2 tablespoons confectioner’s sugar often described as powdered sugar
- ¾ cup plus 2 tablespoons heavy cream
- 1 egg plus 2 egg yolks
- 1 teaspoon lemon juice
- ¾ cups plus 2 ½ tablespoons granulated sugar
- ⅛ teaspoon salt
Instructions
- Place raspberries in the bowl of a food processor or beaker of a hand blender. If using a hand blender beaker, you will need to do this in batches. Puree until smooth.Place a fine mesh sieve over a medium sized bowl. Using a spatula or wooden spoon press the puree through the sieve. Discard seeds. Repeat until all the puree has been strained. In a separate bowl set aside 1 cup plus 2 teaspoons of the strained raspberry puree.Now, sift 2 tablespoons powdered sugar into the remaining puree. There should be about ½ cup of puree remaining. If you have more add about 1 tablespoon of powdered sugar to each additional ¼ cup of puree. Give it a quick stir, cover and place in refrigerator until ready to serve.
- Add cream to the bowl of your stand mixer and whip until the cream forms soft peaks, on medium-high speed. Store in an airtight container and refrigerate until ready to incorporate into the base mixture.
- Fill a medium saucepan with about ¾ inch (2 cm) of water and bring to a boil. The saucepan needs to allow the bowl of the stand mixer to fit snugly without the bottom of the bowl touching the water. In the bowl of the stand mixer, whisk together the egg, egg yolks, lemon juice, granulated sugar, and salt. Place bowl over the simmering water and whisk continuously until the sugar has dissolved and mixture is warm, about 5 minutes.
- Now, move your bowl to the stand mixer. Using the whisk attachment begin whisking on medium speed. Do this until the mixture is cool to the touch, about 8 – 10 minutes.Add the 1 cup plus 2 tablespoons of reserved raspberry puree (the unsweetened puree) and whisk into egg mixture on low speed until combined.Fold in the whipped cream until well blended, and then place into a large freezer container with air tight top. Place plastic wrap over the ice cream before placing top of container.
- Freeze for 12 hours. Serve with sweetened puree.
Video
Notes
Your Notes, Tips and Tricks
Nutrition
Nutritional information is only an estimate. The accuracy of the nutritional information for any recipe on this site is not guaranteed.



Leave a Reply